How do you prepare ground for a plastic shed?
How do you prepare ground for a plastic shed?
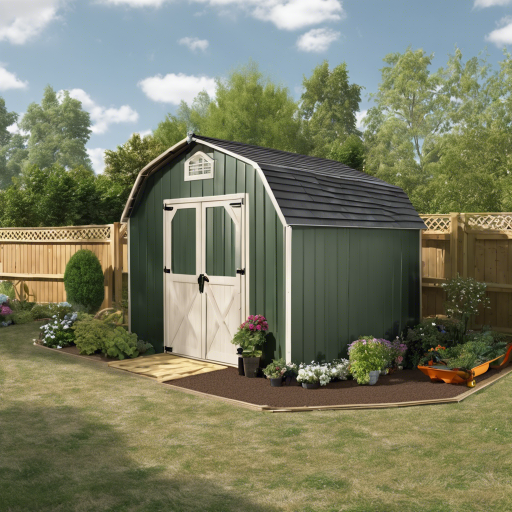
If you are planning to set up a plastic shed in your backyard or garden, one of the most important steps is to prepare the ground properly. Properly preparing the ground will ensure that your shed is stable, level, and protected from moisture. In this article, we will guide you through the process of preparing the ground for a plastic shed, step by step.
Step 1: Choose the right location
Before you start preparing the ground, it is crucial to choose the right location for your plastic shed. Here are a few factors to consider:
- Accessibility: Make sure the shed is easily accessible from your home or driveway.
- Sunlight: Choose a location that receives adequate sunlight throughout the day to prevent mold and moisture buildup.
- Drainage: Ensure that the area has proper drainage to prevent water from collecting around the shed.
- Level ground: Look for a level area where you can set up the shed without the need for excessive leveling.
Step 2: Gather the necessary tools and materials
To prepare the ground for your plastic shed, you will need the following tools and materials:
- Measuring tape
- Wooden stakes
- String or twine
- Shovel
- Wheelbarrow
- Level
- Sand or gravel
- Landscaping fabric
Step 3: Measure and mark the shed dimensions
Start by measuring the dimensions of your plastic shed. Use a measuring tape to determine the width and length of the shed. Once you have these measurements, mark the dimensions on the ground using wooden stakes and string or twine. This will help you visualize the overall size and shape of the shed.
Step 4: Clear the area
Clear the area of any debris, rocks, or plants that may interfere with the installation of the shed. Remove any grass, weeds, or vegetation using a shovel or a small garden spade. Make sure the area is completely clear before proceeding to the next step.
Step 5: Level the ground
Next, it's time to level the ground. Using a shovel or a garden rake, remove any high spots and fill in any low spots to create a level surface. Check for levelness using a leveling tool or a long straight board. The ground should be as level as possible to ensure the stability of your shed.
Step 6: Install a base
To provide a stable foundation for your plastic shed, it is recommended to install a base. You can choose between a concrete base, a wooden frame, or a plastic shed base. Each option has its pros and cons, so make sure to choose the one that suits your needs and budget.
Concrete Base
If you opt for a concrete base, you will need to dig a trench around the perimeter of the shed. The trench should be approximately 4-6 inches deep and wider than the shed dimensions. Fill the trench with concrete, making sure it is level, and allow it to cure according to the manufacturer's instructions.
Wooden Frame
A wooden frame is another popular option for a shed base. Start by creating a rectangular frame using pressure-treated lumber. Make sure the frame matches the dimensions of your shed. Place the frame on the leveled ground and secure it with metal brackets or screws. This will provide a sturdy and level base for your plastic shed.
Plastic Shed Base
A plastic shed base is a cost-effective and easy-to-install option. It consists of interlocking plastic panels that can be laid directly on the leveled ground. These panels provide excellent drainage and stability for your shed. Simply assemble the panels according to the manufacturer's instructions and place them on the prepared ground.
Step 7: Lay landscaping fabric
To prevent weeds and grass from growing under your plastic shed, lay landscaping fabric on the prepared ground. Cut the fabric to match the dimensions of the shed base and place it on top of the base before installing the shed. This will create a barrier that will help to keep the area underneath the shed clean and free from unwanted vegetation.
Step 8: Install the plastic shed
After preparing the ground, it's time to install your plastic shed. Follow the manufacturer's instructions to assemble and secure the shed to the prepared base. Make sure all the connections are tight and secure before putting any items inside the shed.
Step 9: Final touches
Once the shed is installed, you can add some finishing touches to enhance its durability and aesthetics. Consider adding a gravel or stone perimeter around the shed to improve drainage and prevent water from pooling around the base. You can also apply a weather-resistant sealant to the shed to protect it from moisture and UV damage.
By following these steps and properly preparing the ground, you can ensure that your plastic shed is stable, level, and protected. Taking the time to prepare the ground will help your shed last longer and provide a safe and secure storage space for your belongings.

